I’ve been playing around a little with some HDR software to see if it might be useful in photomicrography. My results have been mixed. I think it may be useful, depending on what you are trying to show with the photomicrograph. For those who don’t know, HDR imaging stands for “high dynamic range” imaging. The idea is that sometimes details that are very dark or very light are sometimes obscured in regular photography because they all get coded into very few light or dark values. Let’s say I have a series of pixels that are 0 1 2 10 50 200 300 500 900 1000 1001 1002, and let’s say that we can display values between 100 and 900. In the photograph that can display values from 100 to 900, the result will be 100 100 100 100 100 200 300 500 900 900 900 900, since all the values below 100 are set to 100 and all the values above 900 become 900.
So, you take multiple photos at different exposures. Say we take three. One is regular exposure. One is overexposed, so that everything is slid upwards. In that case, the values would be 100 150 300 600 900 1400 2000 3000 3100 3200 3300, which, with the same limits on the image, become 100 150 300 600 900 900 900 900 900 900 900. Similarly, you take an underexposed image that, when encoded, ends up as, say 100 100 100 100 100 100 100 200 300 400 500. In the underexposed image, the bright objects have good separation, but everything else is bunched towards the bottom. In the overexposed image, the dark objects are easily seen, but the brighter objects are washed out. In the regular exposure, the broad middle looks good, with a little bit of things getting lost at both the dark and light edges.
Then you combine them so that you get the best discrimination for each object in the photo. The good news is that you have enough information that you should be able to do that. The bad news is that you still have a limited number of levels you display, so whatever method you use to combine the images, the result will not be entirely realistic. Also, as you might expect, there are a lot of possible strategies for combining the images. Some of these focus on preserving color, some focus on enhancing contrast, others focus on luminance issues, etc.
This technique is often used in landscape photography. The results are often pleasing but just a little bit unrealistic. You can look at some examples here. They are all very pretty, but somewhat unworldly.
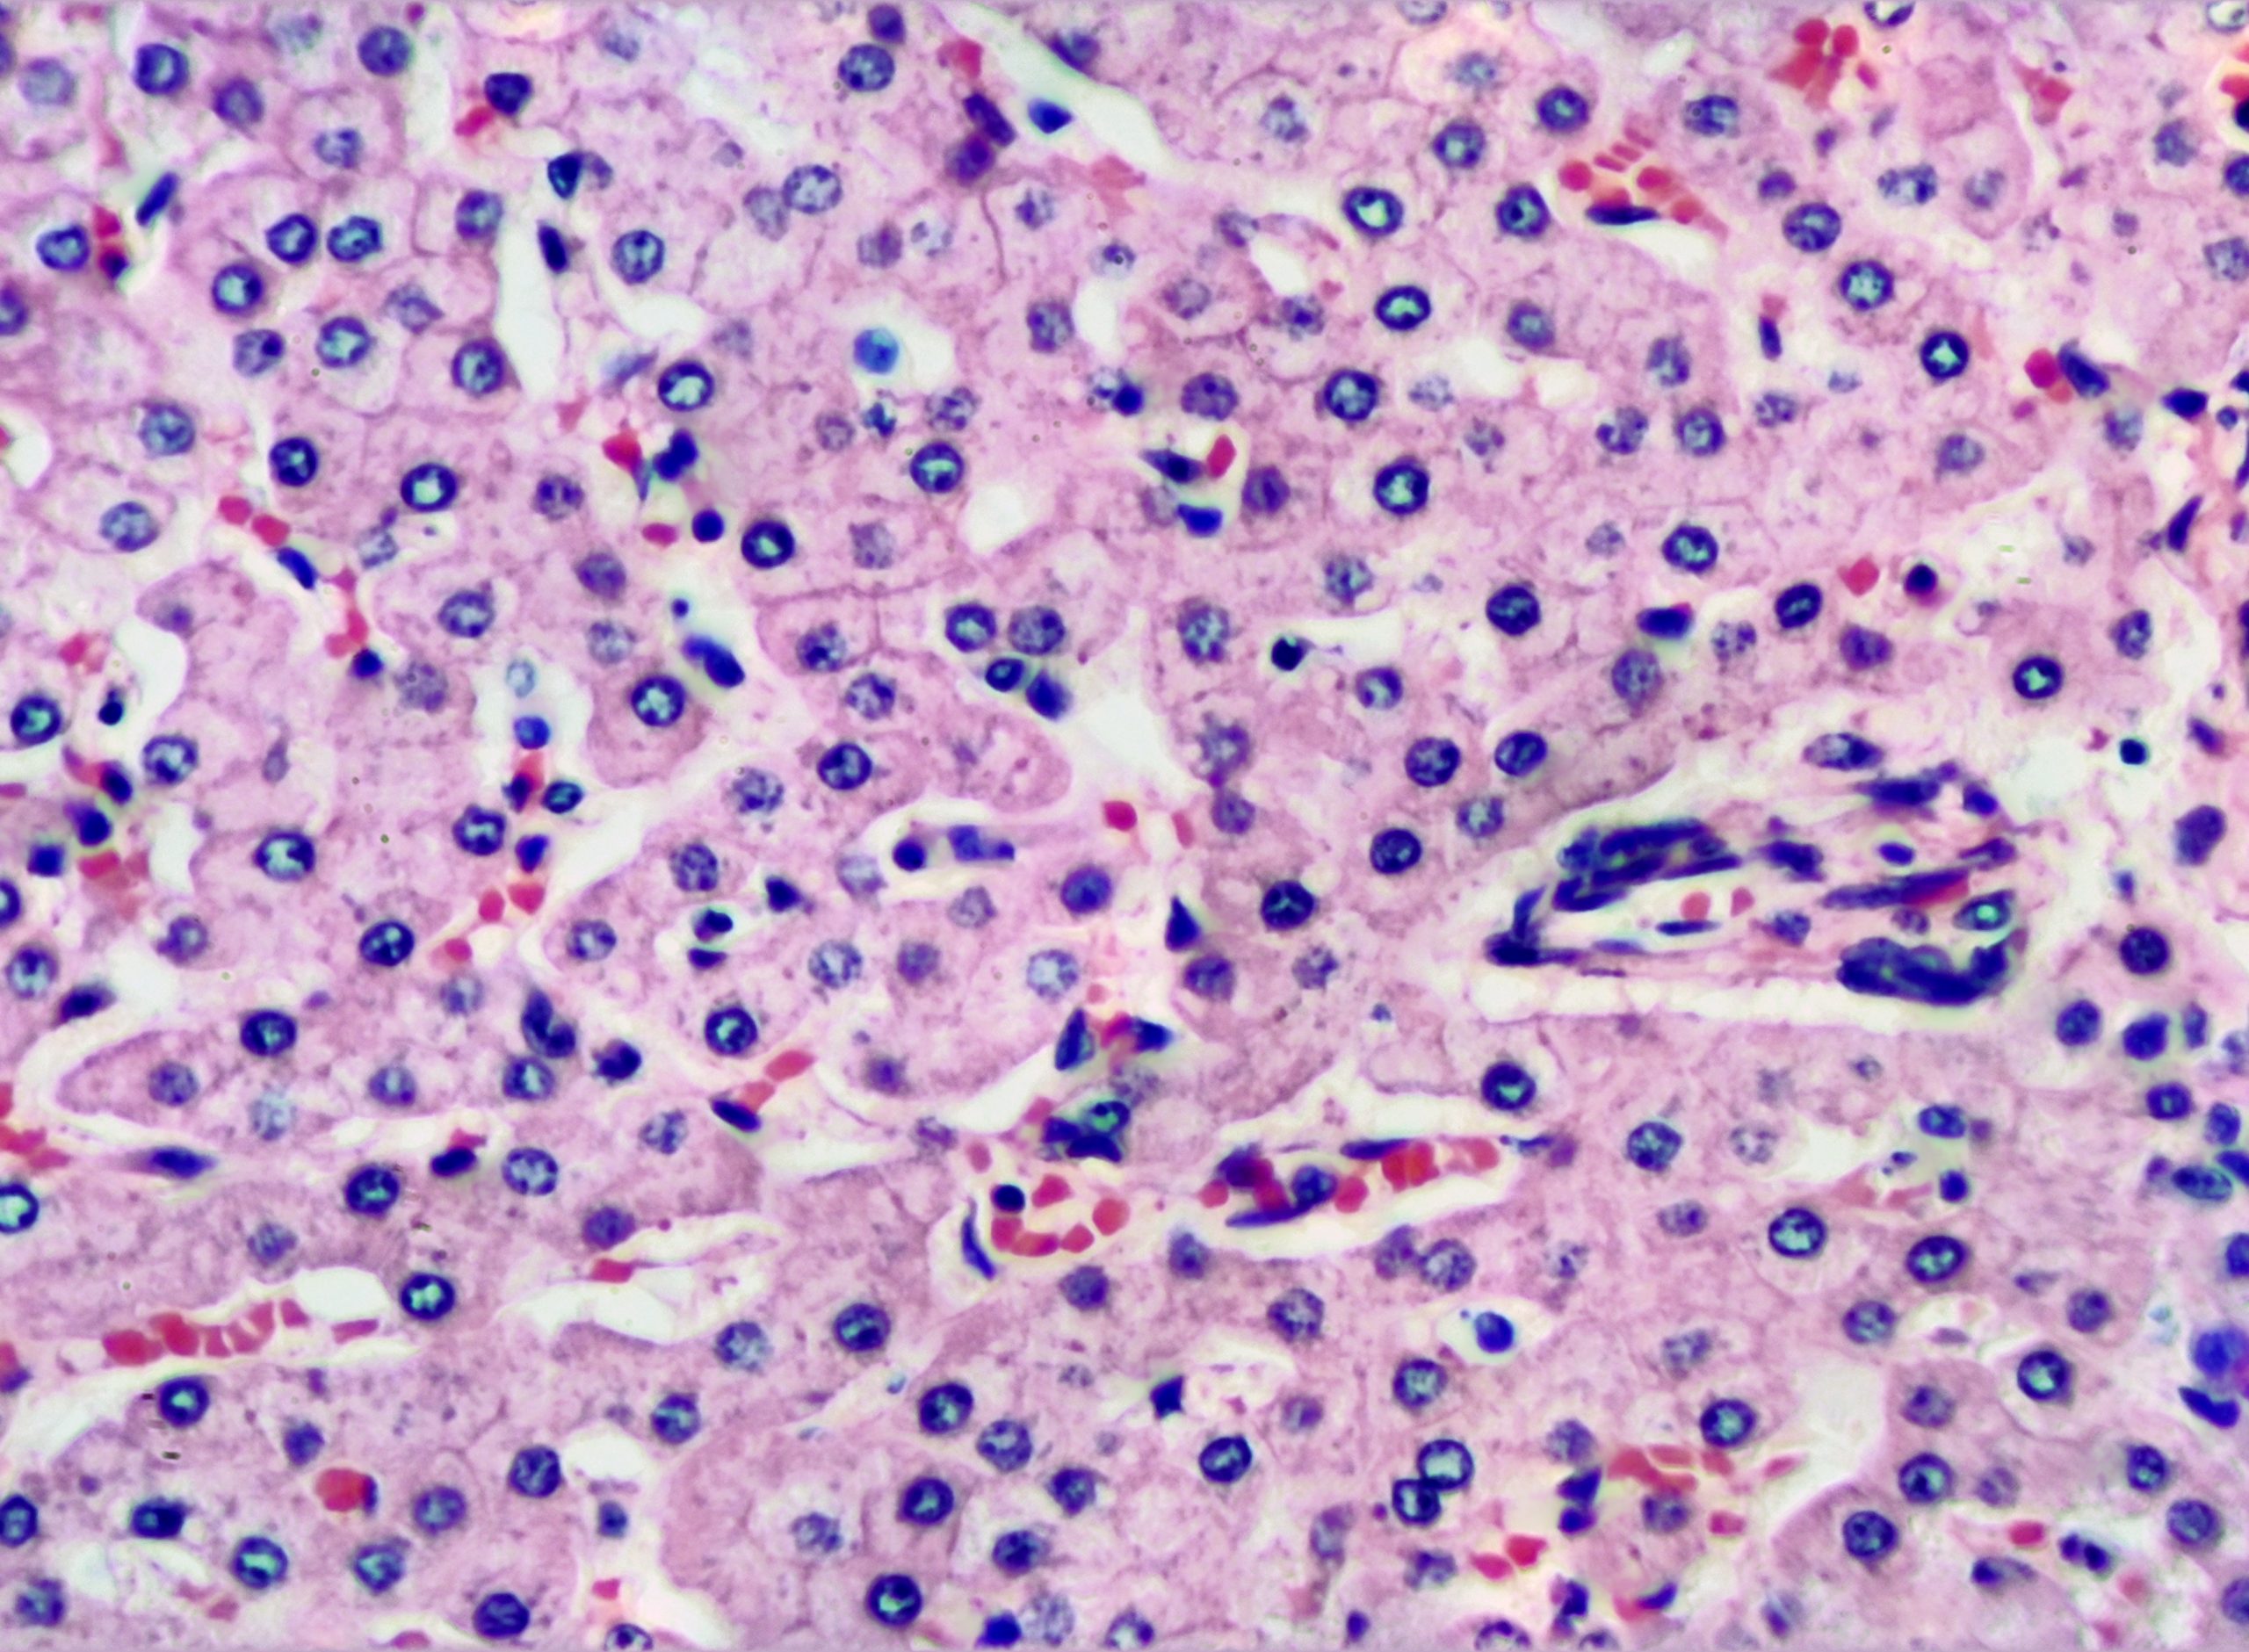
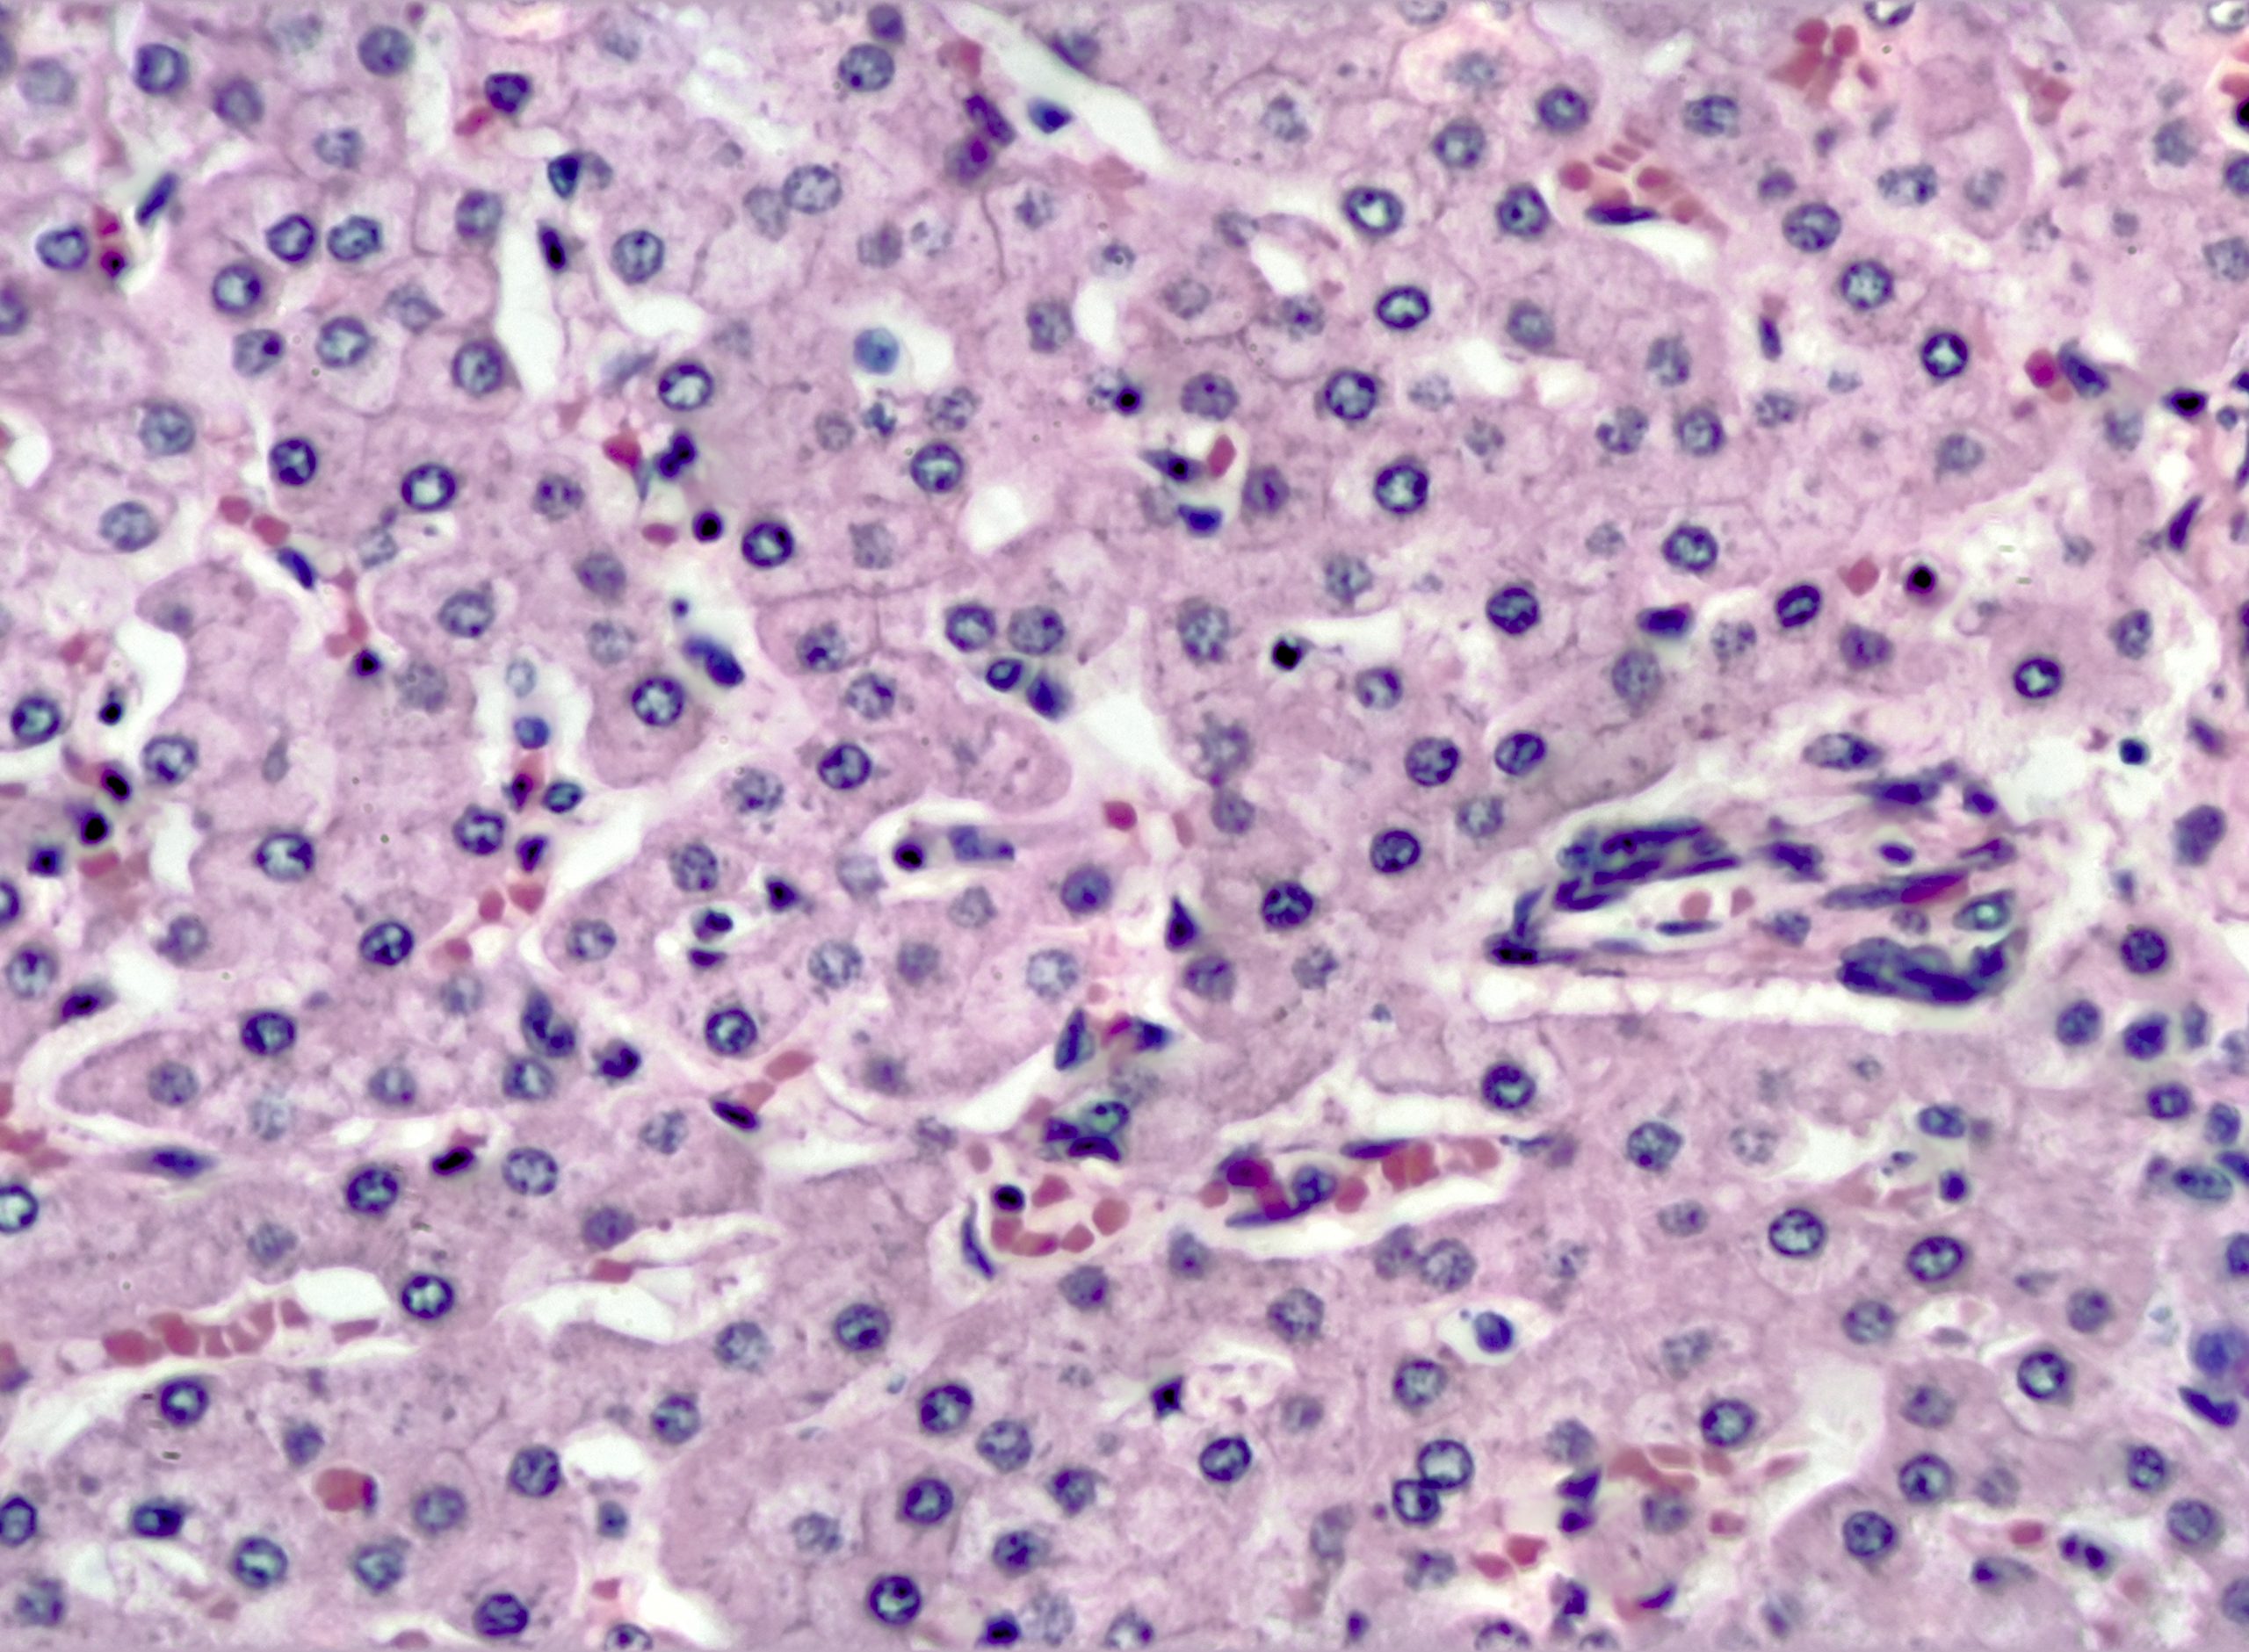
So, let’s see what happens with photomicrographs. Here are three photos of a liver section, one regular, one light, one dark.


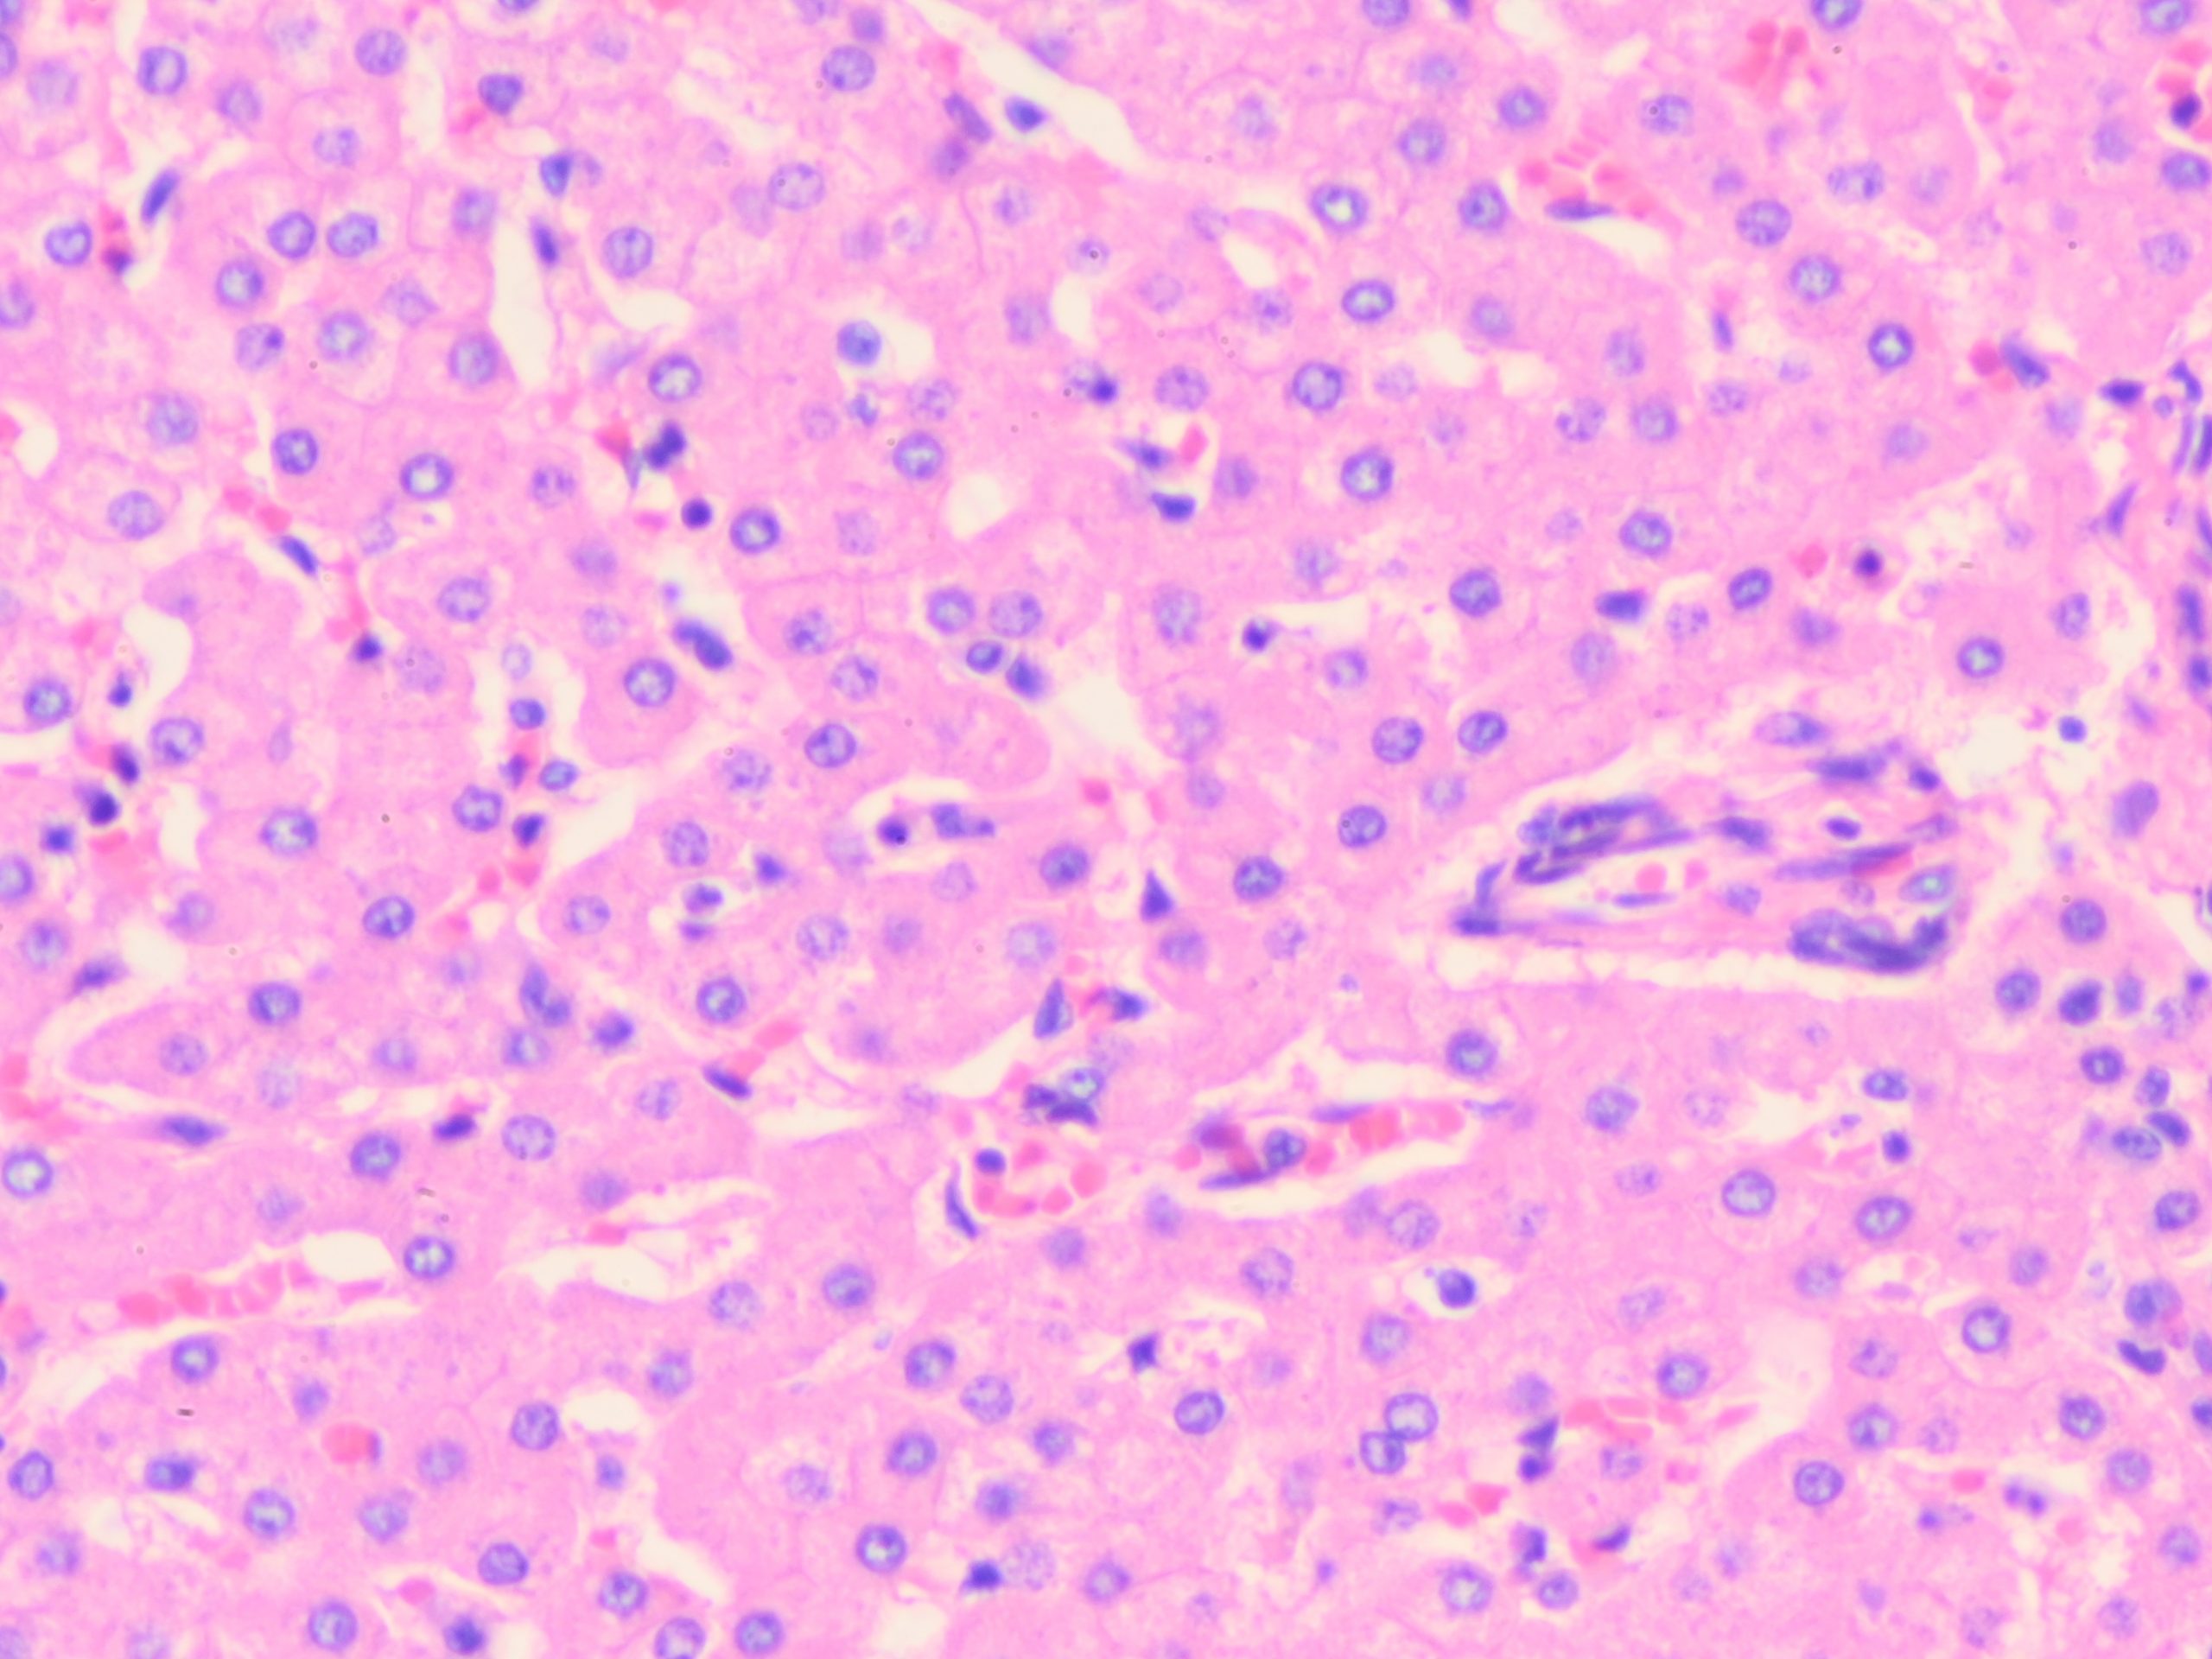
I made these simply by changing exposure time on my camera.
Now, let’s combine them. Here’s the results of two methods. I used “LuminanceHDR” on a laptop running Fedora 32 linux.
The results are certainly not quite what I see through the scope in terms of color, but some of the features really seem to pop out. In any case, it may be worth giving a try.
There are a number of free applications that will allow different ways of combining images to create HDR photos. A number are available for Linux. As I noted, I use Luminance HDR for the most part, but sometimes use Raw Therapee. I am not familiar with most of the Windows apps, since I’m a Linux guy.